Are you looking for a way to install WordPress on Localhost XAMPP? Then, you’ve found the right article. Not only on Localhost XAMPP, but this article will also discuss how to install WordPress with various other methods, from installing WordPress on cPanel to installing WordPress on a subdomain.
How to Install WordPress on Localhost XAMPP?
XAMPP is useful for running PHP scripts on Localhost or a computer without an internet connection. For example, by installing WordPress on XAMPP, you can test a website offline without worrying about the script being tampered with by others.
Some steps to install WordPress on Localhost using XAMPP are:
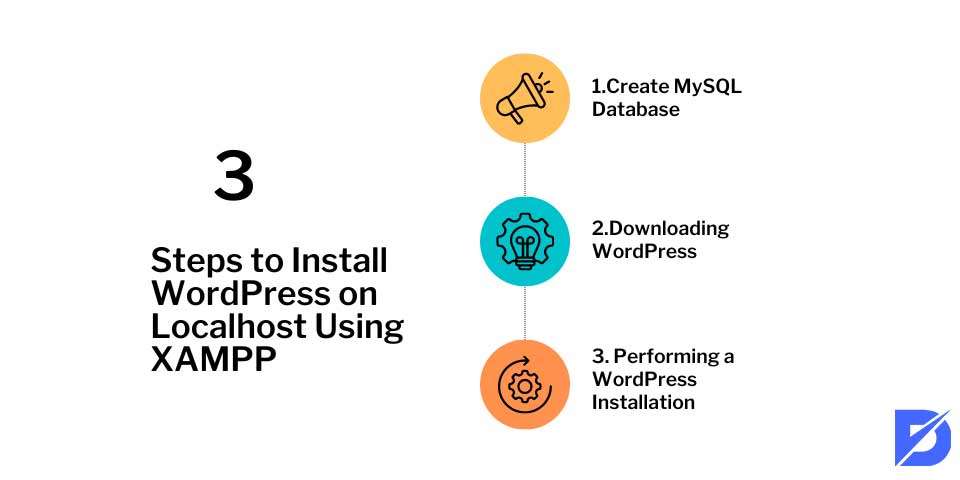
- Create MySQL Database;
- Downloading WordPress;
- Performing a WordPress Installation.
To be clear, the following is a discussion of the steps to install WordPress on Localhost using XAMPP.
Create Database
Before establishing WordPress, you need to create a MySQL database first. To get started, please access the following link http://localhost/phpmyadmin.
Please click on the Databases tab, then enter the database name in the Create database column. In this tutorial, we created a database named WP. After that, please press the Create button.
Download and Manage WordPress Database Details
- Download the WordPress installation file first via the WordPress download link.
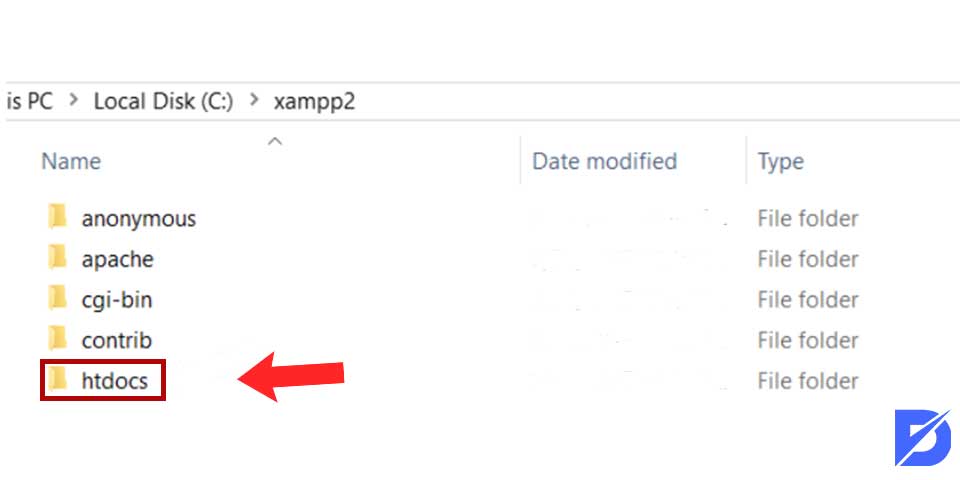
- Then copy the WordPress installation files into the htdocs folder, C:\xampp\htdocs.
- To install WordPress on Localhost XAMPP, you need to extract files using WinRAR.
- Then rename the WordPress folder as desired. For example, in this tutorial, we changed it to WP.
- Please open the WP folder, then select the wp-config-sample.php file and rename it to wp-config.php.
- Open the file, then scroll until you find the detailed database code below.
- Please change a few lines of code according to the database details that were previously created.
- Replace “database_name_here” with the name of your Database. In this example, it is WP.
- Replace “username_here” with “root,” and for “password_here,” please leave it blank.
- Please save the file.
Install WordPress
At this step, you can already install WordPress. First, please open your browser, then type the following URL http://localhost/wp/.
Please select the language you want. When finished selecting the language, press the Continue button.
In the next step, please enter the following details.
- Database Name: filled with the name of the Database. This tutorial is filled with WP.
- Username: filled with root.
- Password: blank.
- Then click the Submit button.
Please click the Run the install button.
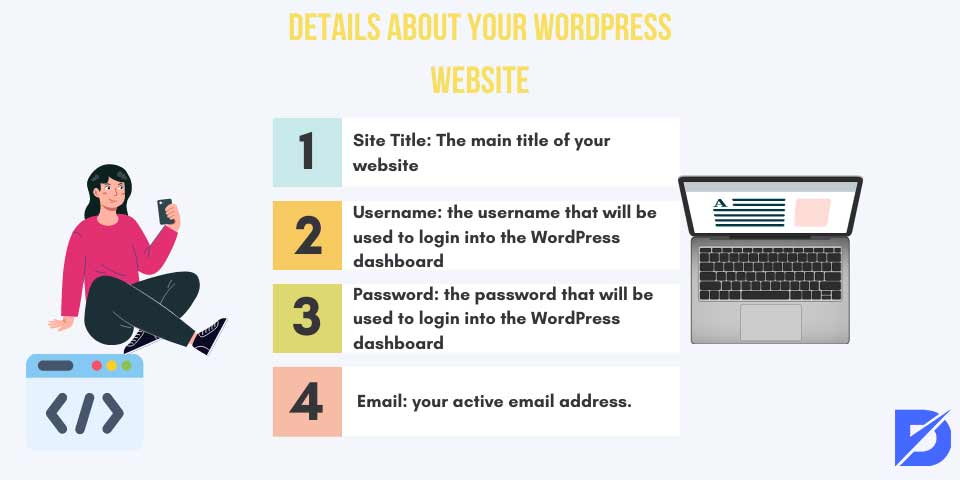
Please enter details about your WordPress website, then click the Submit button.
- Site Title: The main title of your website.
- Username: the username that will be used to login into the WordPress dashboard.
- Password: the password that will be used to login into the WordPress dashboard.
- Email: your active email address.
If the installation process is successful, you can log in to the WordPress dashboard by clicking the Login button and entering the username and password you created earlier.
How to Install WordPress on cPanel
WordPress installation on cPanel can be done in two ways: manually and using the Softaculous auto-installer. At this point, we will discuss how to install WordPress manually first.
Follow the four easy steps below:
Download the WordPress Installation File
First, download the WordPress installation file on the official website. Save the ZIP file without extracting it first. This ZIP file will be used in the next step.
Upload Files Using File Manager
The second step is to upload the previously downloaded WordPress ZIP file using the cPanel File Manager.
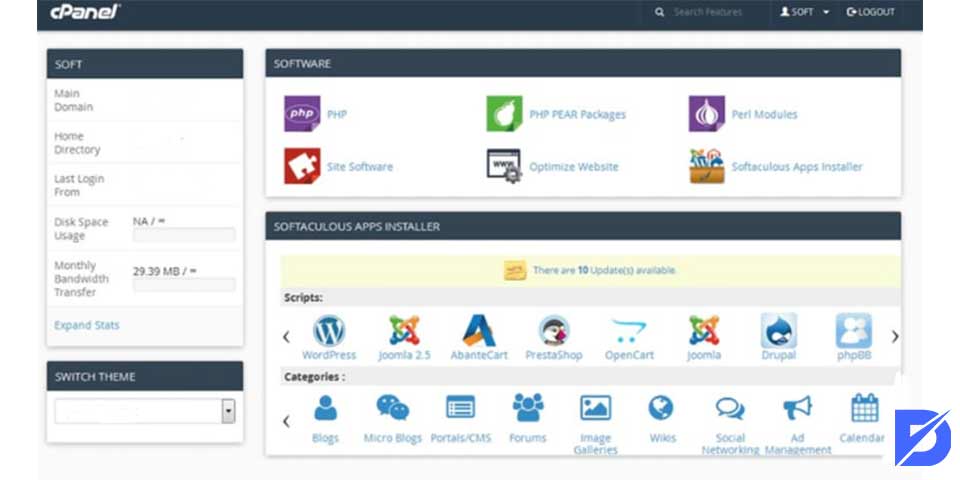
- Access File Manager in your cPanel.
- Open the public_html directory in the left column, then click the upload button in the menu bar.
- Please wait until the file upload bar is green, then click Go Back below it.
- Select the WordPress ZIP file, then right-click and select “Extract.”
- Once extracted, the ZIP file will be in the WordPress folder. To access your blog via http://yourdomain.com/wordpress, you need to move all files in the WordPress folder to the public_html directory.
- Select all the files in the WordPress folder, then right-click and select move. After that, you will be provided with the destination public_html/WordPress. Remove the word WordPress, and you will get a destination to the public_html directory, then click move.
- After moving all the WordPress files to the public_html directory, you can delete the WordPress folder and its ZIP files.
Create a MySQL Database
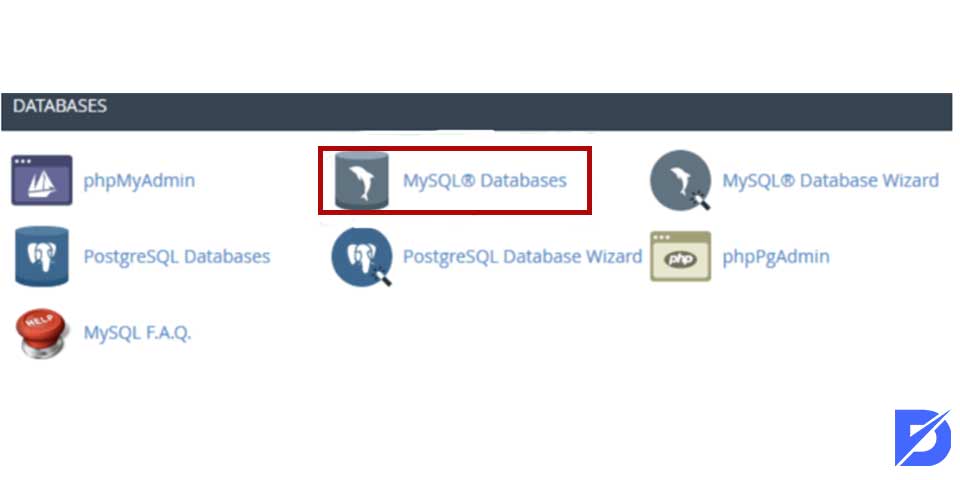
Creating a database in MySQL can be done using MySQL Databases or the MySQL Databases Wizard. For example, in how to install WordPress using FTP, we have used WordPress MySQL Databases.
This time we will use the MySQL Databases Wizard. Not too much different from MySQL Databases. You need to fill in information such as database name, username, and password. Then click Create User.
After filling in all the information above, you need to grant access rights to your User by selecting ALL PRIVILEGES, then click Next Step.
The stage of creating a database in MySQL has been completed. Also, learn how to reset your WordPress site.
Run the WordPress Installation
Well, after uploading all the WordPress install files and creating a MySQL database, it’s time for you to open your domain in your browser to continue the installation process.
- Select the language you will use in WordPress.
- Click Let’s Go to start filling in the MySQL WordPress database information that you created earlier.
- In this section, you are asked to fill in the MYSQL database information created previously, from the database name, username, password, and database host to the table prefix.
- WordPress will continue the installation process if there are no errors in filling out the database information. Click Run to Install.
- In this section, you will be asked to fill in the website and administrator information:
- Site Title: Your Website Title.
- Username: Administrator username.
- Password: Administrator password.
- Your Email: Administrator’s email address.
Search Engine Visibility: WordPress will prevent search engines from reading your website if this section is checked.
Installation Complete
If there are no errors, you can directly log in to your WordPress admin.
How to Install WordPress with Softaculous Auto Installer?
As mentioned earlier, you can also install WordPress on cPanel using the Softaculous auto-installer. Softaculous is popular and easy to use to install various applications.
Here are the steps:
- First Step
Go to the cPanel home and find the Softaculous Apps Installer menu. - Second Step
Click the WordPress icon below it. - Third Step
You need to fill in the data below.
Fill in these data:

- Choose Protocol: If you already have SSL installed, it is recommended to install WordPress on the HTTPS protocol.
- Choose Domain: If you have subdomains or add-on domains in your cPanel, you can select them here.
- In Directory: Enter your WordPress installation directory. If you have WordPress installed on your primary domain, this section can be left blank.
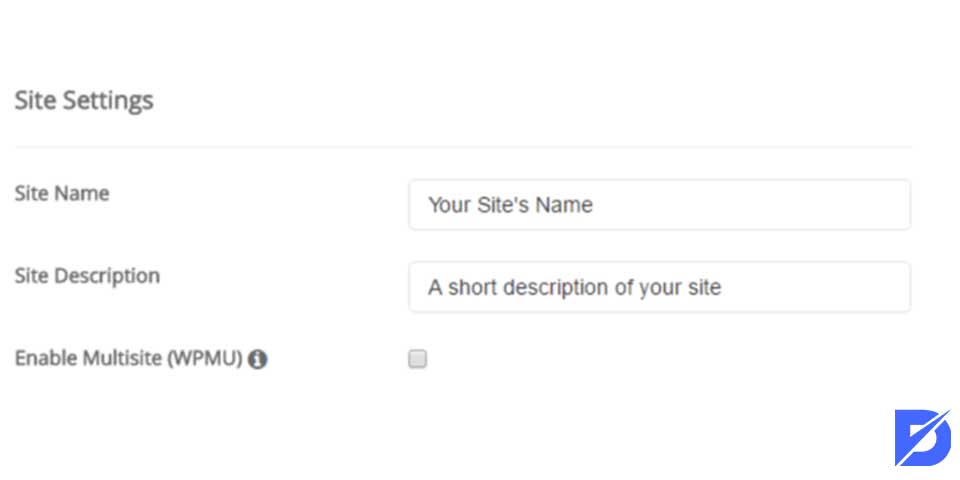
- Site Name: Write the name of your WordPress website.
- Site Description: Also, include a brief description of your website.
- Multisite Email: This feature makes it possible to create multiple WordPress websites using the same WordPress installation. Click if you want to use this feature.
- Admin Username: Fill in your website administrator username.
- Admin Password: Fill in the password for the administrator account above.
- Email Admin: Enter your active email address here. The email address you enter here is helpful for receiving notifications and password reset requests.
- Select Language: Select the language you want to use in WordPress.
You can also add any plugins you want to add to your website. The final step is to click install, and Softaculous immediately starts installing WordPress for you.
How to Install WordPress on a Subdomain
Installing WordPress on a subdomain is relatively easy. First, make sure that you have created a subdomain in cPanel. Also, you might be interested in Where To Buy WordPress Themes? article.
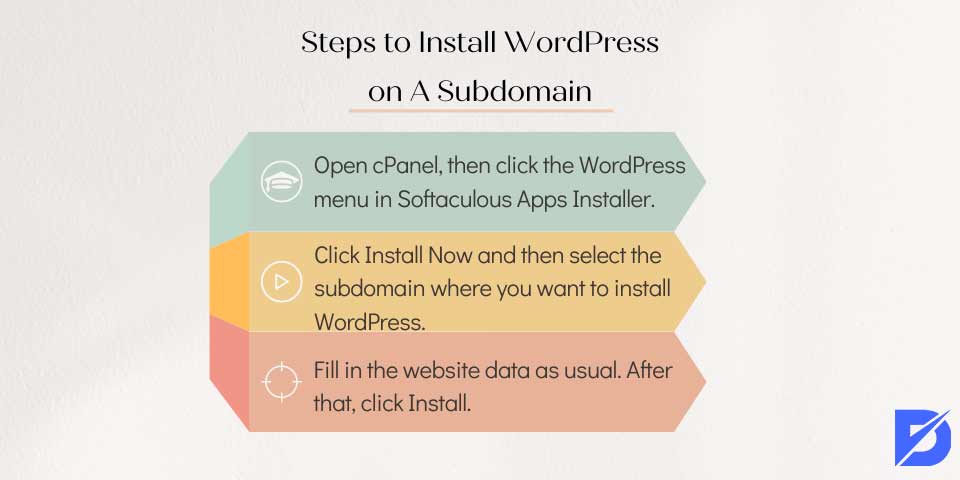
Here are the steps to install WordPress on a subdomain:
- First Step: Open cPanel
Open cPanel, then click the WordPress menu in Softaculous Apps Installer. - Second Step: Click Install Now
Click Install Now and then select the subdomain where you want to install WordPress. - Third Step: Fill Data
Then fill in the website data as usual, from the website name, website description, username, password, and language, to the theme. After that, click Install and the WordPress installation on the subdomain is complete!
How to Install WordPress in Short
We tried to show you ways how to install WordPress. Thus, we also provided information in the article on how to install WordPress for free on various platforms. The platforms we have mentioned include Localhost, cPanel, Softaculous, and through a subdomain. If you request to discuss how to install WordPress on another platform or use another method, you can contact us or leave a comment below.
Frequently Asked Questions About
For running PHP scripts on Localhost, you can use XAMPP.
You must create a MySQL database before installing WordPress.
You can make a database in MySQL by applying the MySQL Databases Wizard or MySQL Databases.
Search Engine Visibility must be checked to prevent search engines from reading your website.
You can install WordPress on cPanel using the Softaculous auto-installer.



No comments to show.